How to Apply for a U.S. Visa: Step-by-Step Guide for Indian Students
A practical guide for Indian students applying for a U.S. visa, covering visa type selection, DS-160, SEVIS, fee payment, appointment booking, documents, interview preparation and post-interview steps.
Applying for a U.S. visa becomes confusing when students start with the form instead of the purpose. The first step is not DS-160. The first step is to confirm why the student is travelling: full-time study, exchange program, campus visit, tourism, internship, work or dependent travel. The visa category must match that purpose.
For most Indian students going to a U.S. university, the common route is F-1. Exchange visitors usually use J-1, while vocational students may use M-1. Visitor visas such as B-1/B-2 are not meant for full-time study.
Start with the visa category, not the form
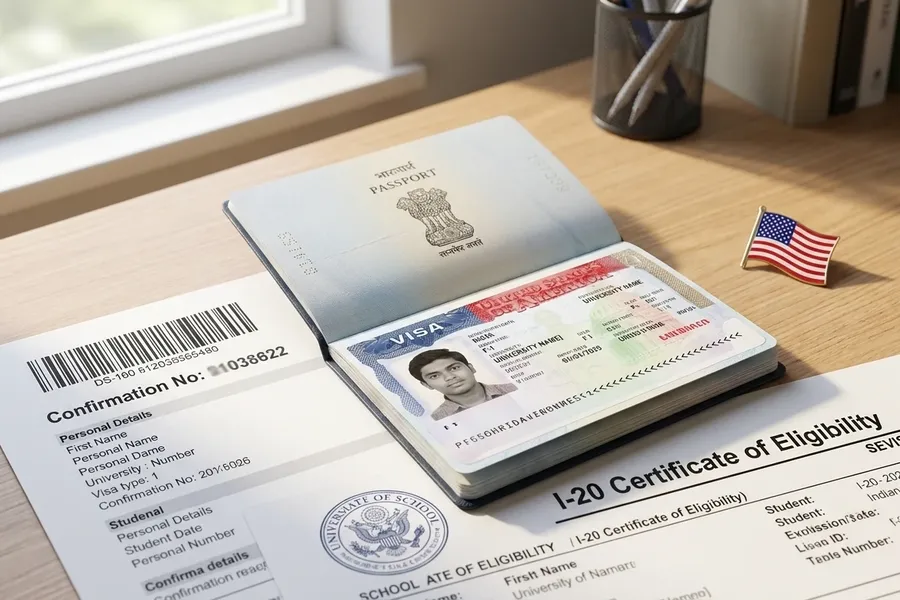
Before paying any fee, the applicant should check the correct visa type. A student accepted into a SEVP-approved school generally receives Form I-20 and applies for an F or M visa. The U.S. Department of State’s student visa page explains that students must complete DS-160 and bring the confirmation page to the interview.
| Applicant Situation | Likely Visa Route | Main Document Before DS-160 |
|---|---|---|
| Full-time academic study | F-1 | Form I-20 from SEVP-approved school |
| Vocational or non-academic study | M-1 | Form I-20 |
| Exchange visitor program | J-1 | Form DS-2019 |
| Campus visit or tourism | B-1/B-2 | Travel purpose and supporting documents |
| Spouse or child joining student | F-2 or J-2 | Dependent I-20 or DS-2019 |
This check prevents a common mistake: choosing a category only because it seems easier to book. The consular officer will still judge whether the visa category fits the real travel plan.
Fill DS-160 carefully
The DS-160 is the online nonimmigrant visa application form. The DS-160 page states that it is submitted electronically and used by consular officers, along with the interview, to determine eligibility. The CEAC DS-160 page also notes that the application takes about 90 minutes.
- Use the correct consulate location: The location selected on DS-160 should match the visa application process the applicant will follow.
- Enter passport details exactly: Name, date of birth, passport number and travel details should match documents.
- Save the application ID: The form can time out, so the applicant should save the ID and security answer.
- Review before submission: After submission, many details cannot be casually edited without creating a new DS-160.
- Print the confirmation page: The barcode confirmation page is needed for appointment and interview steps.
Students should also keep the DS-160 answers consistent with the I-20, passport, funding documents and university offer. Small mismatches in name, university details, funding source or travel purpose can create avoidable questions later.
Pay the right fee and create the appointment profile
After DS-160, the applicant usually creates a profile on the U.S. visa appointment website for the country where they are applying. For India, the U.S. Embassy visa page directs applicants to the official scheduling route and reminds users to submit a properly completed DS-160 when booking appointments.
Students may also need to pay the SEVIS I-901 fee for F, M or J categories before the visa interview. This is separate from the visa application fee. The Department of State’s visa fees page should be checked for current fee categories before payment. Fee receipts should be saved because they may be checked during the process.
Book biometrics and interview slots
The appointment flow usually includes a biometrics or VAC appointment and a consular interview appointment. Slot availability can change quickly, so students should not wait until the university deadline is close. Travel plans, university reporting date, accommodation and loan disbursement should all be aligned with visa timing.
Interview waiver rules can change. The Department of State’s interview waiver update says that, from October 1, 2025, most nonimmigrant applicants generally require an in-person interview unless they fall under limited exceptions. Students should check the latest appointment instructions instead of assuming dropbox eligibility.
This matters because biometrics, interview and passport delivery can affect the university reporting date. Students should leave room for appointment availability, administrative processing, document correction and passport return.
Prepare documents by purpose
F-1 or M-1 student visa file
- Valid passport and DS-160 confirmation page.
- Form I-20 signed by the student and school official.
- SEVIS I-901 fee receipt.
- Visa appointment confirmation.
- Admission letter, academic records and test scores.
- Financial proof for tuition, living expenses and first-year funding.
- Loan sanction letter, scholarship letter or sponsor documents where applicable.
J-1 exchange visitor file
- DS-2019 from the exchange sponsor.
- DS-160 confirmation and passport.
- SEVIS payment proof where applicable.
- Program invitation or sponsor letter.
- Funding proof, academic records and professional documents.
Visitor or dependent visa file
- Travel purpose documents and itinerary.
- Relationship proof for dependents.
- Principal applicant’s visa/status documents where relevant.
- Financial proof and ties to home country.
- Invitation, graduation details or event documents where applicable.
Prepare for the visa interview
The interview is not a speech test. The applicant should answer clearly, briefly and honestly. Student visa answers should connect course choice, university, funding and future plan. Weak or memorised answers often sound less convincing than simple truthful answers.
- Course reason: Be able to explain why this program and university fit the student’s goals.
- Funding clarity: Know who is paying, how much is available and which documents prove it.
- Academic continuity: Explain how past study connects with the U.S. program.
- Future plan: Give a realistic post-study direction without overpromising.
- Document control: Keep documents sorted, but answer first instead of pushing papers immediately.
The interview should not sound like a memorised script. A student should be able to explain the university, course, funding source and future plan in their own words. If the answer does not match the DS-160, I-20 or financial papers, the file can look inconsistent.
After the interview
After the interview, the visa may be approved, refused or placed under administrative processing. Approval does not always mean the passport is returned immediately. Students should track passport status through the official system and avoid booking non-refundable travel until the visa is issued.
If the visa is refused, the applicant should read the refusal category carefully and correct the real issue before reapplying. Reapplying with the same weak answers and same unclear documents usually does not help.
Common mistakes in the U.S. visa application
- Choosing the wrong visa type for the real travel purpose.
- Submitting DS-160 with inconsistent passport, university or travel details.
- Waiting too long to book appointment slots.
- Not paying or carrying SEVIS proof for F, M or J categories.
- Showing funds without being able to explain source and availability.
- Giving memorised interview answers instead of clear personal answers.
- Assuming visa approval before passport return and final issuance.
Summary
A U.S. visa application works best when the student follows the right order: choose the correct category, complete DS-160 accurately, pay the required fees, book appointments, prepare purpose-specific documents and answer the interview honestly. The process is manageable when every step supports the same travel purpose.
FAQs
Questions from this guide
How do I apply for a U.S. student visa from India?
First get admission and Form I-20 or DS-2019, then complete DS-160, pay required fees, create the appointment profile, book biometrics and interview, prepare documents and attend the visa interview.
Is DS-160 the first step for a U.S. visa?
DS-160 is the first online application form, but the applicant should first confirm the correct visa category and collect the required eligibility document such as I-20 or DS-2019.
What documents are required for a U.S. student visa?
Common documents include passport, DS-160 confirmation, I-20 or DS-2019, SEVIS receipt, appointment confirmation, admission letter, academic records, test scores and financial proof.
Can I apply for a U.S. visa without an interview?
Interview waiver rules change and are limited. Many nonimmigrant applicants generally require an in-person interview, so students should check the latest official appointment instructions before assuming waiver eligibility.